
How to Build an Emergency Fund From Scratch
A practical step-by-step guide to building an emergency fund from $0, including how much to save and where to keep it.
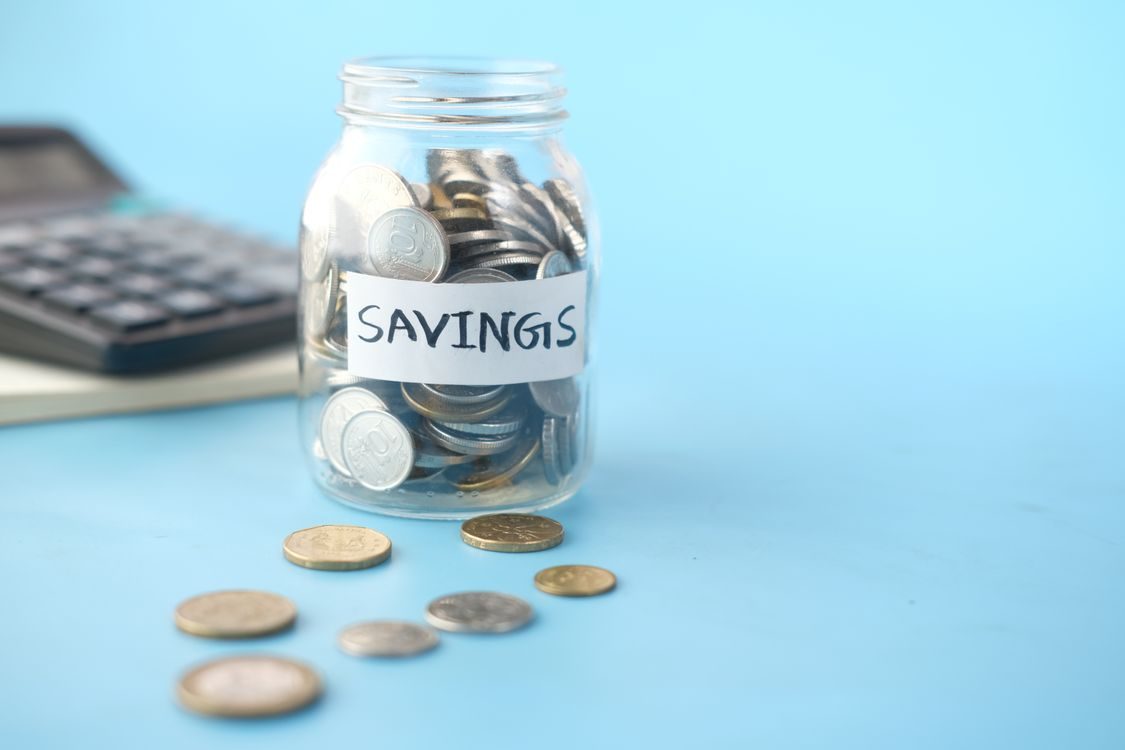
Most people don't have an emergency fund because the goal feels impossibly big. Three to six months of expenses? If you spend $3,500 a month, that's $10,500 to $21,000. No wonder most people never start.
Here's the secret: you don't start with the big number. You start with a tiny one, and you build it in stages. This guide walks you through exactly how to go from $0 to a fully funded emergency fund, one realistic step at a time.
This article is for education only and isn't financial advice.
What an Emergency Fund Actually Is
An emergency fund is money set aside for true surprises: a job loss, a car repair, a medical bill, a broken water heater. It's not a vacation fund. It's not a "sale at my favorite store" fund. It has one job — to keep a bad day from turning into a debt spiral.
Without one, a $600 car repair goes on a credit card. Then interest piles up, the next surprise hits, and suddenly you're carrying a balance you can't pay off. An emergency fund breaks that cycle.
Step 1: Set Your Starter Goal at $1,000
Forget three to six months for now. Your first target is $1,000.
Why $1,000? It covers most common surprises — a car repair, a minor medical bill, a plane ticket for a family emergency — without going into debt. Research from the Federal Reserve has consistently shown that a large share of Americans can't cover a $400 emergency with cash. Getting to $1,000 puts you ahead of that curve.
If $1,000 still feels big, start with $500. The exact number matters less than the habit. The point is to have something between you and a credit card.
Step 2: Find Your First $100
The fastest way to start is to find money you already have. Look for these common sources:
- Sell something you don't use. A bike, old electronics, furniture, clothes. One Saturday listing things on Facebook Marketplace can easily bring in $100 to $300.
- Check for forgotten money. Your state may hold unclaimed funds in your name (search your state's unclaimed property site). Tax refunds, old security deposits, and rebate checks are common finds.
- Do a one-week spending freeze. Skip dining out, coffee shops, and non-essential shopping for seven days. Many people free up $50 to $150 without much pain.
- Pick up one gig. A weekend of food delivery, dog sitting, or freelance work can net $100 to $200.
Move that first $100 into a separate savings account the same day you get it. Don't let it sit in checking, where it will quietly get spent.
Step 3: Figure Out Your Real Monthly Number
To reach $1,000, you need a monthly savings target. Let's do simple math:
- Want $1,000 in 5 months? Save $200 a month.
- Want $1,000 in 10 months? Save $100 a month.
- Can only manage $50 a month? You'll get there in 20 months — and that's still a win.
Pick a number you can hit every month without fail. Consistency beats ambition. Saving $75 a month for a year ($900) beats saving $300 one month and then nothing for six months.
Look at your last month of spending and find the money. Common places it hides: subscriptions you forgot about ($15 for streaming you never watch), eating out ($200 a month is typical for many households), and impulse purchases. Cut one thing, not everything.
Step 4: Automate the Transfer
This is the step that makes everything else work. Set up an automatic transfer from your checking account to your savings account on payday — or the day after.
Why payday? Because money you don't see, you don't miss. If $150 leaves your account the morning your paycheck lands, you'll plan your spending around what's left. If you wait until the end of the month to "save what's left over," there will never be anything left over.
Most banks let you set this up in under five minutes through their app or website. Start with whatever amount you chose in Step 3. You can always increase it later.
Step 5: Grow From $1,000 to One Month of Expenses
Once you hit $1,000, don't stop — upgrade your target. Your next goal: one full month of essential expenses.
Essential expenses means rent, utilities, groceries, insurance, minimum debt payments, and transportation. Not restaurants, not shopping, not entertainment. For many people, essentials run $2,000 to $3,000 a month.
Example: Maria spends $3,400 a month total, but her essentials are $2,600. Her next target is $2,600. She keeps her automatic transfer at $200 a month. In eight months, her $1,000 grows to $2,600. She now has a real cushion.
Step 6: Build Toward Three to Six Months
This is the long game, and it's where the famous "3 to 6 months" advice finally comes in. How much do you need?
- Three months is usually enough if you have stable employment, a working partner, or strong job prospects in your field.
- Six months makes sense if you're self-employed, work in an unstable industry, or are the sole earner in your household.
Using Maria's $2,600 in essentials: three months is $7,800, six months is $15,600.
Speed this up by raising your automatic transfer whenever you get a raise, a bonus, or pay off a debt. If Maria pays off a $220-a-month car payment, she can redirect that whole $220 to her emergency fund. Her $200 transfer becomes $420, and she reaches $7,800 in about a year.
Where to Keep Your Emergency Fund
Your emergency fund should be:
- Separate from your everyday checking account. If it's mixed in, you'll spend it.
- Easy to access in 1–3 days. No CDs with penalties, no investments that bounce up and down.
- Earning some interest. A high-yield savings account (currently paying around 4% at many online banks, versus 0.01% at big brick-and-mortar banks) is ideal.
On $5,000, a 4% account earns about $200 a year. A 0.01% account earns fifty cents. Same safety, wildly different payoff. (See our guide on high-yield savings accounts for details.)
When to Use It — and How to Rebuild
Use the fund only for genuine emergencies: things that are unexpected, necessary, and urgent. A dead refrigerator qualifies. A concert ticket does not.
When you do use it, make rebuilding your top priority. Temporarily redirect extra money — pause other savings goals if you must — until the fund is back to its target. Then resume normal life.
Example: Maria's water heater dies and costs $900. Her fund drops from $2,600 to $1,700. She bumps her automatic transfer from $200 to $350 for three months, which adds about $1,050 back. Fund restored, crisis handled, no debt added.
Key Takeaways
- Start with a $1,000 starter goal, not three to six months of expenses — small targets get finished.
- Find your first $100 fast by selling unused items or doing a one-week spending freeze.
- Automate a monthly transfer on payday; consistency matters more than the amount.
- Grow in stages: $1,000 → one month of essentials → three to six months of essentials.
- Keep the fund in a separate high-yield savings account, not your checking account.
- Use it only for true emergencies, and make rebuilding your top priority afterward.
This article is for education only and isn't financial advice.
Keep reading

How to Save $5,000 in 6 Months: A Realistic Plan
How to save $5000 in 6 months with a realistic month-by-month plan: $834 a month, income boosts, smart cuts, and where to keep the money.

Sinking Funds: The Budgeting Trick That Prevents Surprise Bills
Learn how sinking funds turn big irregular bills into small monthly savings, with examples for car repairs, holidays, and more.

How to Save Money on a Tight Budget
Realistic strategies for saving money when your budget is already stretched thin — from $25-a-month starts to bigger wins.